Build a fully custom HTML email template in Keysender to control the design and layout of your delivery emails. Paste your own HTML with inline CSS, place the delivery variables where the code and order details should appear, and Keysender fills them in at send time. Use this when the standard template editor is not flexible enough.
Make sure you have:
Open Account then Templates in Keysender.
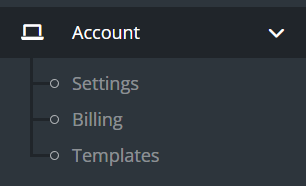
Click Add New +.
Select HTML Email as the template type.
Enter a clear template name.
Set the Reply To address if you want customer replies sent to a specific email.
Set Send Copy To if you want a copy of each outgoing message sent to additional addresses.
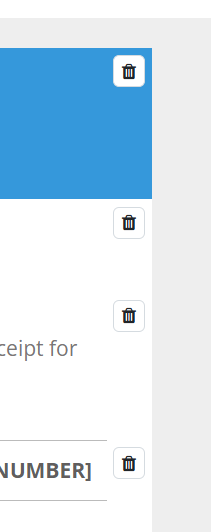
Remove every default block from the editor. Click each block and use the trash icon to delete it until the canvas is blank.
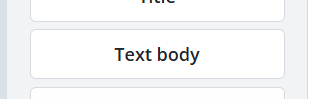
In the left sidebar, select Text Body to add the body block.
In the top style bar, click the code button </> to switch to code view.
Paste your custom HTML into the editor and add any inline CSS your design needs.
Click Save.
Insert these tags in your HTML. Keysender replaces each one with the correct value for the order.
| Tag | Description |
|---|---|
[PRODUCT_ID] |
Integration Product ID |
[PRODUCT_NAME] |
Integration Product Name |
[INVENTORY_NAME] |
Inventory Name |
[SKU] |
Inventory SKU |
[INVENTORY_MESSAGE] |
Inventory Message |
[FIRST_NAME] |
Customer First Name |
[LAST_NAME] |
Customer Last Name |
[EMAIL] |
Customer Email |
[PHONE_NUMBER] |
Customer Phone |
[USER] |
Customer Username |
[INTERNAL_ORDER_ID] |
Internal Order ID |
[ORDER_NUMBER] |
External Order ID |
[ORDER_TIME] |
Order Time |
[PRICE] |
Price and Currency |
[STATUS] |
Link to Order Access Page |
[BUSINESS_NAME] |
Organization Business Name |
[BUSINESS_EMAIL] |
Organization Business Email |
[BUSINESS_SUPPORT_EMAIL] |
Organization Support Email |
[BUSINESS_VAT] |
Organization VAT Number |
[BUSINESS_PHONE] |
Organization Phone Number |
[NL] |
New Line, a line break |
Place each tag where you want the customer or order data to appear.
Use this as a starting point. Paste it into the Text Body block in code view, then adjust it for your design.
<!DOCTYPE html>
<html>
  <body style="font-family: Arial, sans-serif; background: #f7f7f7; margin: 0; padding: 0;">
    <div style="max-width: 400px; margin: 40px auto; background: #fff; border-radius: 7px; box-shadow: 0 1px 6px #eee; padding: 24px;">
      <p style="margin: 0 0 16px 0;">
        Hi [FIRST_NAME],
      </p>
      <p style="margin: 0 0 16px 0;">
        Here is your <b>[PRODUCT_NAME]</b>.<br>
        Order: [ORDER_NUMBER]
      </p>
      <div style="font-family: monospace; background: #f0f0f0; padding: 12px; border-radius: 5px; margin: 18px 0; text-align: center;">
        [CODE]
      </div>
      <p style="margin: 0 0 16px 0;">
        Thank you for your purchase.
      </p>
      <div style="color: #bbb; font-size: 0.95em; text-align: center; margin-top: 24px;">
        Need help? [BUSINESS_SUPPORT_EMAIL]
      </div>
    </div>
  </body>
</html>
Assign the template to a product on the product settings page.
Send yourself a test email to confirm the design and variable placement display correctly.
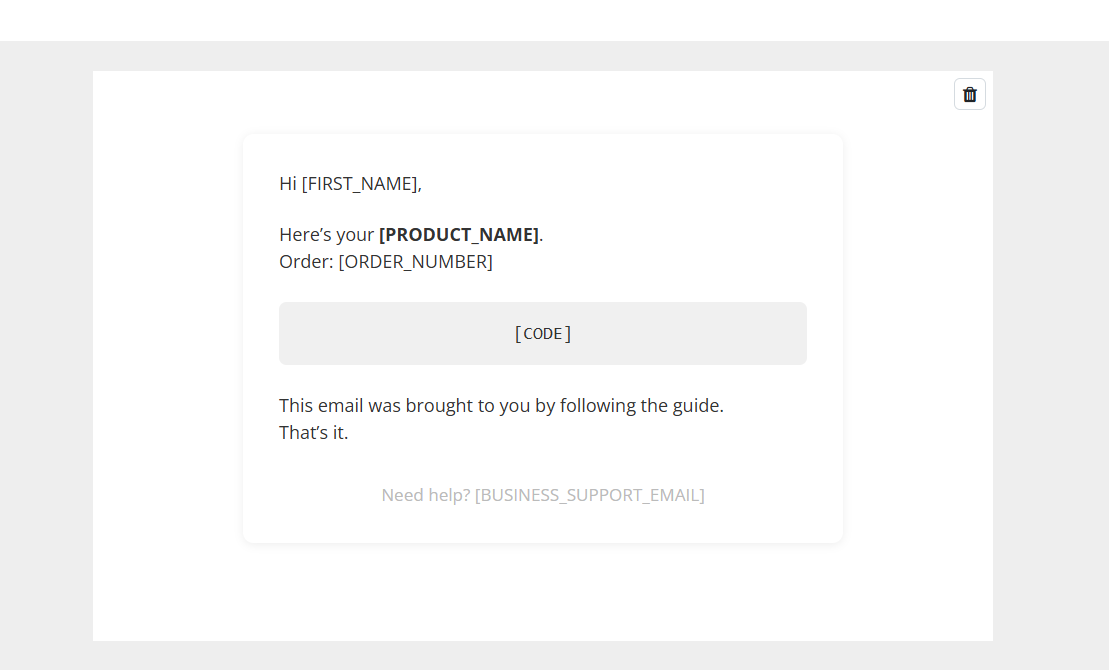
Keysender replaces every tag with real order details when the email is sent. Your test email should match the layout below.
Submit a claim so Keysender Support can review it.
You need access to your Keysender vendor account and your custom HTML code ready, with inline CSS for styling. Open Account, then Templates, click Add New, and select HTML Email as the template type before pasting your code.
Remove every default block by clicking each one and using the trash icon until the canvas is blank. In the left sidebar, select Text Body, then click the code button in the top style bar to switch to code view and paste your HTML.
Insert variable tags in your HTML and Keysender replaces each one with the order value. For example, use [FIRST_NAME] for the customer first name, [PRODUCT_NAME] for the product name, [ORDER_NUMBER] for the external order ID, and [BUSINESS_SUPPORT_EMAIL] for your support email.
